Caledonia Coming Together

I have been watching an excess of airbrushing videos recently. YouTube's next recommended video has been a great guide. One of the videos last night was an old one from Kenny of Next Level Painting. He made the following point (summarized):

An airbrush is a great tool to help you paint faster. What makes the difference is what you so with that extra time. If you don't do anything with that time, it will only look like you airbrushed your miniature.

It is an obvious truth once I thought about it. It is noticeable when a miniature has only been painted by an airbrush, even when done well.

On the painting table recently has been the force of crazed Scotsmen known as the Caledonian Highlander Army from Infinity. They are being painted as a response to the difficulty of playing against the Steel Phalanx I currently have painted.

My current selection of Steel Phalanx.

It should be noted that Steel Phalanx is cool. An army of AI recreated heroes from the Iliad, they are a mix of high technology and brute force.

They are also incredibly difficult for a new player to play against. 

The Steel Phalanx has a host of special rules that give them a large advantage on the battlefield. They can easily form multiple link teams. Their most common trooper, the Myrmidon, has an Optical Disruption Device (ODD) that makes it very difficult to hit.

Myrmidons.  The core of Steel Phalanx and some of the most difficult troopers to play against.

They punch you in the mouth and easily dodge your counter punches. That makes the not very fun to play against until you have experience against them.

Caledonia has a similar spirit. They are angry Scots and Englishmen who want nothing more than to punch you in the mouth. The difference is that the Highlanders do not care enough to dodge your counter-punch.

All of my painted Caledonian Highlander Army as of September, 2017.

When I started on the Caledonians, my goal was to put together a furious (and furry) horde of kilted berserkers with some specialist support. Multiple Dog Warriors, Highlanders, units with Frenzy, and wonderfully dynamic (if uncomfortably constipated) sculpts define the faction for me. 

I find that the only disappointing part of the faction is the reliance on the worst line trooper in the game, the Caledonian Volunteer. All of the Volunteer's stats are laughably bad. They only have a Paramedic specialist option. The only interesting weapon load out is a dirt cheap HMG.

Here's two of the recent Caledonian Volunteers I painted.  I did the green of their jackets using an airbrush and light shading.  These two made the quote from Kenny more relevant.

The real problem I have with Volunteers is that they don't embody the faction. Haqq gets absurd WIP 14 Doctor+ directly fitting their lore. Fusiliers are better shots, but a consumer society (and potentially interference from ALEPH) has weakened their willpower. USARF Grunts have heavy armor and are shock immune from their years defending the wall.

Volunteers are cheap and bad; not the angry, scrappy survivors from a land rich with Tesium that I would expect. They should have armor 3, access to T2 weapons on base profiles, or even simply Frenzy and something like Natural Born Warrior.  Instead, they are the very definition of cheerleader, but in a faction that does not have good enough units to justify them.

#ResculptCaledonia2016

Volunteer complaints aside, I finally have a list painted that I think will be solid for most ITS missions.  It is formed around three Dog Warriors who are responsible for shredding link teams, and utilizes William Wallace to provide free Coordinated Orders to move up the table.  The list should be a blast to play, but has obvious weaknesses.  Sounds classically Caledonian.

The first Caledonian list.  Scylla is my Wardriver Hacker.  She certainly has the sass for it.

Adventures in Airbrushing: Part 1 - Wolves and Warriors

Art is hard.

Not to pretend that what I am producing can be considered art. It isn't. But many of the same techniques apply to miniature painting. And for a neophyte, this shared techniques are difficult to reproduce reliably.

Two weeks ago, all of the airbrush stuff I ordered off of Amazon started arriving. I went against the recommendation of the internet (and with the suggestion of the local airbrush expert) and purchased cheap equipment. Basically the following:

  • Master Airbrush beginner kit - has a compressor, Master G22 airbrush, and some paints. Screaming deal, but everything is cheap. 
  • Master Airbrush booth. 
  • Vallejo thinner, flow improver, and grey primer. 
  • Some extra stuff like hoses and quick releases.
  • Neo for Iwata beginner airbrush. 

Everything went together smoothly. The only concern is the compressor, which is louder than expected. There are times it sounds like a banshee dancing and wailing to a dubstep track. Probably not a good sign.

And finally, it was time to begin!

Wolves. Technically zombie wolves were the start of the great adventure. 24 of the wolves were primed and painted in about 3 hours, something that would have taken probably 8 hours over many days to do with only a brush. 

A few different patterns were attempted. A dark brown wolf that is fairly generic, and a light gray wolf with different top coat coloration. 

The airbrush made all of the painting quite easy, saving tons of time. That said, there were some disappointing parts of the result.

Some of the coloration looks like a dusting of a darker color. I have since read that the dusting effect occurs when you apply a color that is too different than the underlying color. I'm other words, if I had taken more time and smoothly transitioned from gray to black, the splatter would not be apparent.

With the wolves as done as I was willing to work on them, I hunted for more minis to practice on. My brother's Morats were available, so I grabbed them and started painting! 

A Sogarat HMG and an old Yaogat Sniper from Infinity. Poor guys... 

A Sogarat HMG and an old Yaogat Sniper from Infinity. Poor guys... 

After priming gray, I covered them in black and blended up to a light gray. Essentially, from the sides, a dark gray was applied. Then from a smaller angle above a medium gray was applied. Lastly, a light gray was applied from directly above. The technique is called zenithal lighting, and my first attempt at it yielded reasonable results.

The axe is an attempt at NMM. Unfortunately, getting too close to the axe a PSI much too high for the very thin white that was being used caused the area to be over-brightened. 

The Sogarat and Yaogat after cleanup. 

The Sogarat and Yaogat after cleanup. 

These two figures really enforced the value of an airbrush as an additional tool when painting. It would have taken multiple nights to get to the point the airbrush got these miniatures to in an hour. That is incredible. All that remains with them is a few details and some edge lining.

Feeling confident after the success of the Morats, it was time to try to use non-airbrush paints. Three assembled Caledonian miniatures were selected from the Infinity cabinet and I went to town.

The experimental figures were two Caledonian Volunteers from Infinity, one with an HMG and the other a Rifle.

The experimental figures were two Caledonian Volunteers from Infinity, one with an HMG and the other a Rifle.

It will be tough to judge these guys until they are completed and can be compared with ones painted earlier. I think I made a few mistakes though:

  • The dark base layer needed more coats than I applied. Two coats of the dark green were applied, but more were required to establish a solid foundation.  Perhaps this was because I over-thinned the paint. 
  • It may be best to leave the brightest highlight for brush work. I couldn't quite control everything that the top highlight was hitting, so they're very bright compared to the previous Volunteers. 
The original Caledonian Volunteer on the left and airbrushed Volunteer on the right. 

The original Caledonian Volunteer on the left and airbrushed Volunteer on the right. 

It has been quite the adventure so far. I have a number of Caledonian miniatures being assembled in the hopes of cranking them out with the airbrush. Mistakes will be made, lessons will be learned, and minis will be painted.

Zombicide: Black Plague - A Project Summary

It's done!

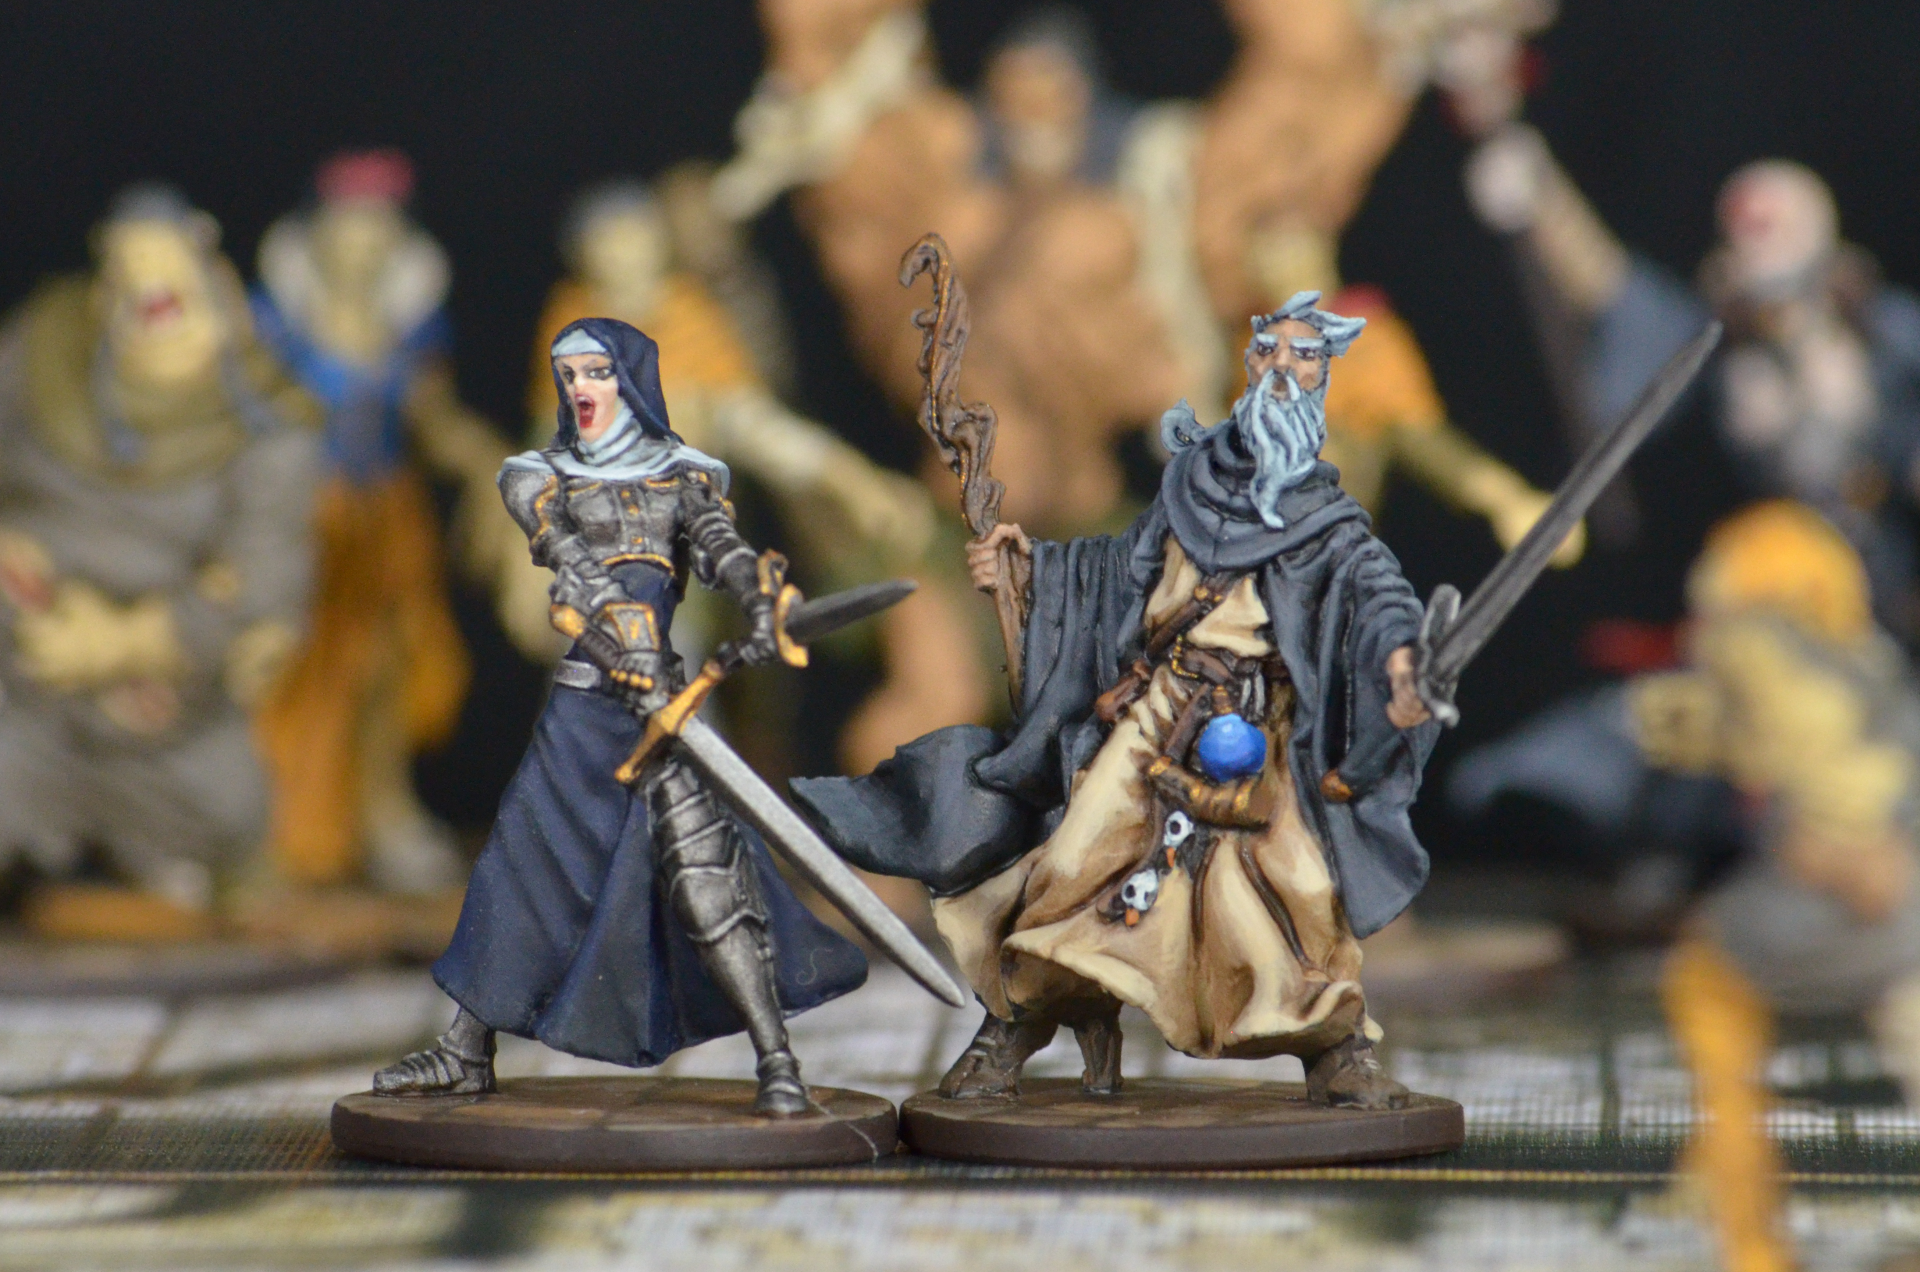
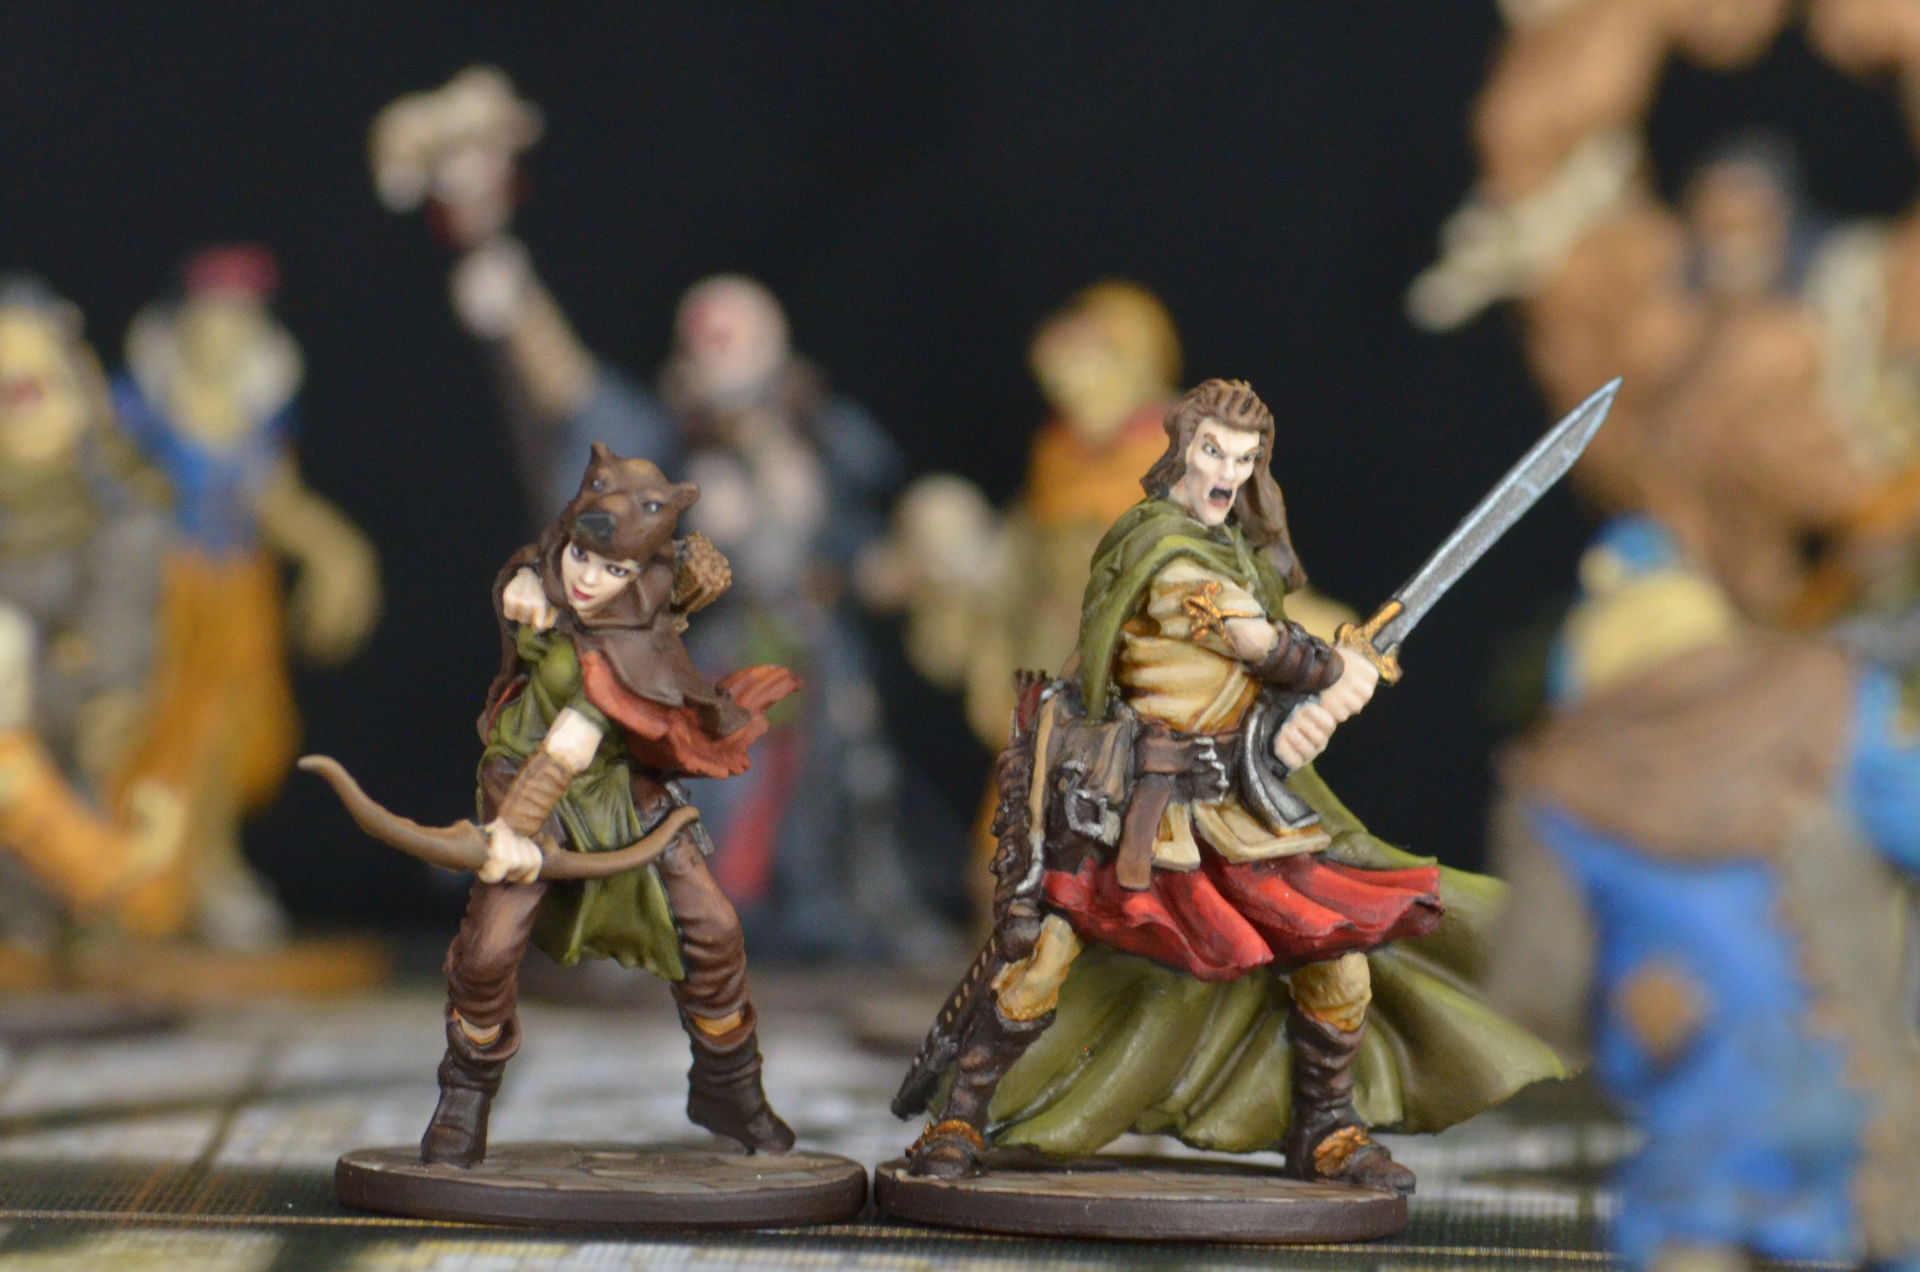
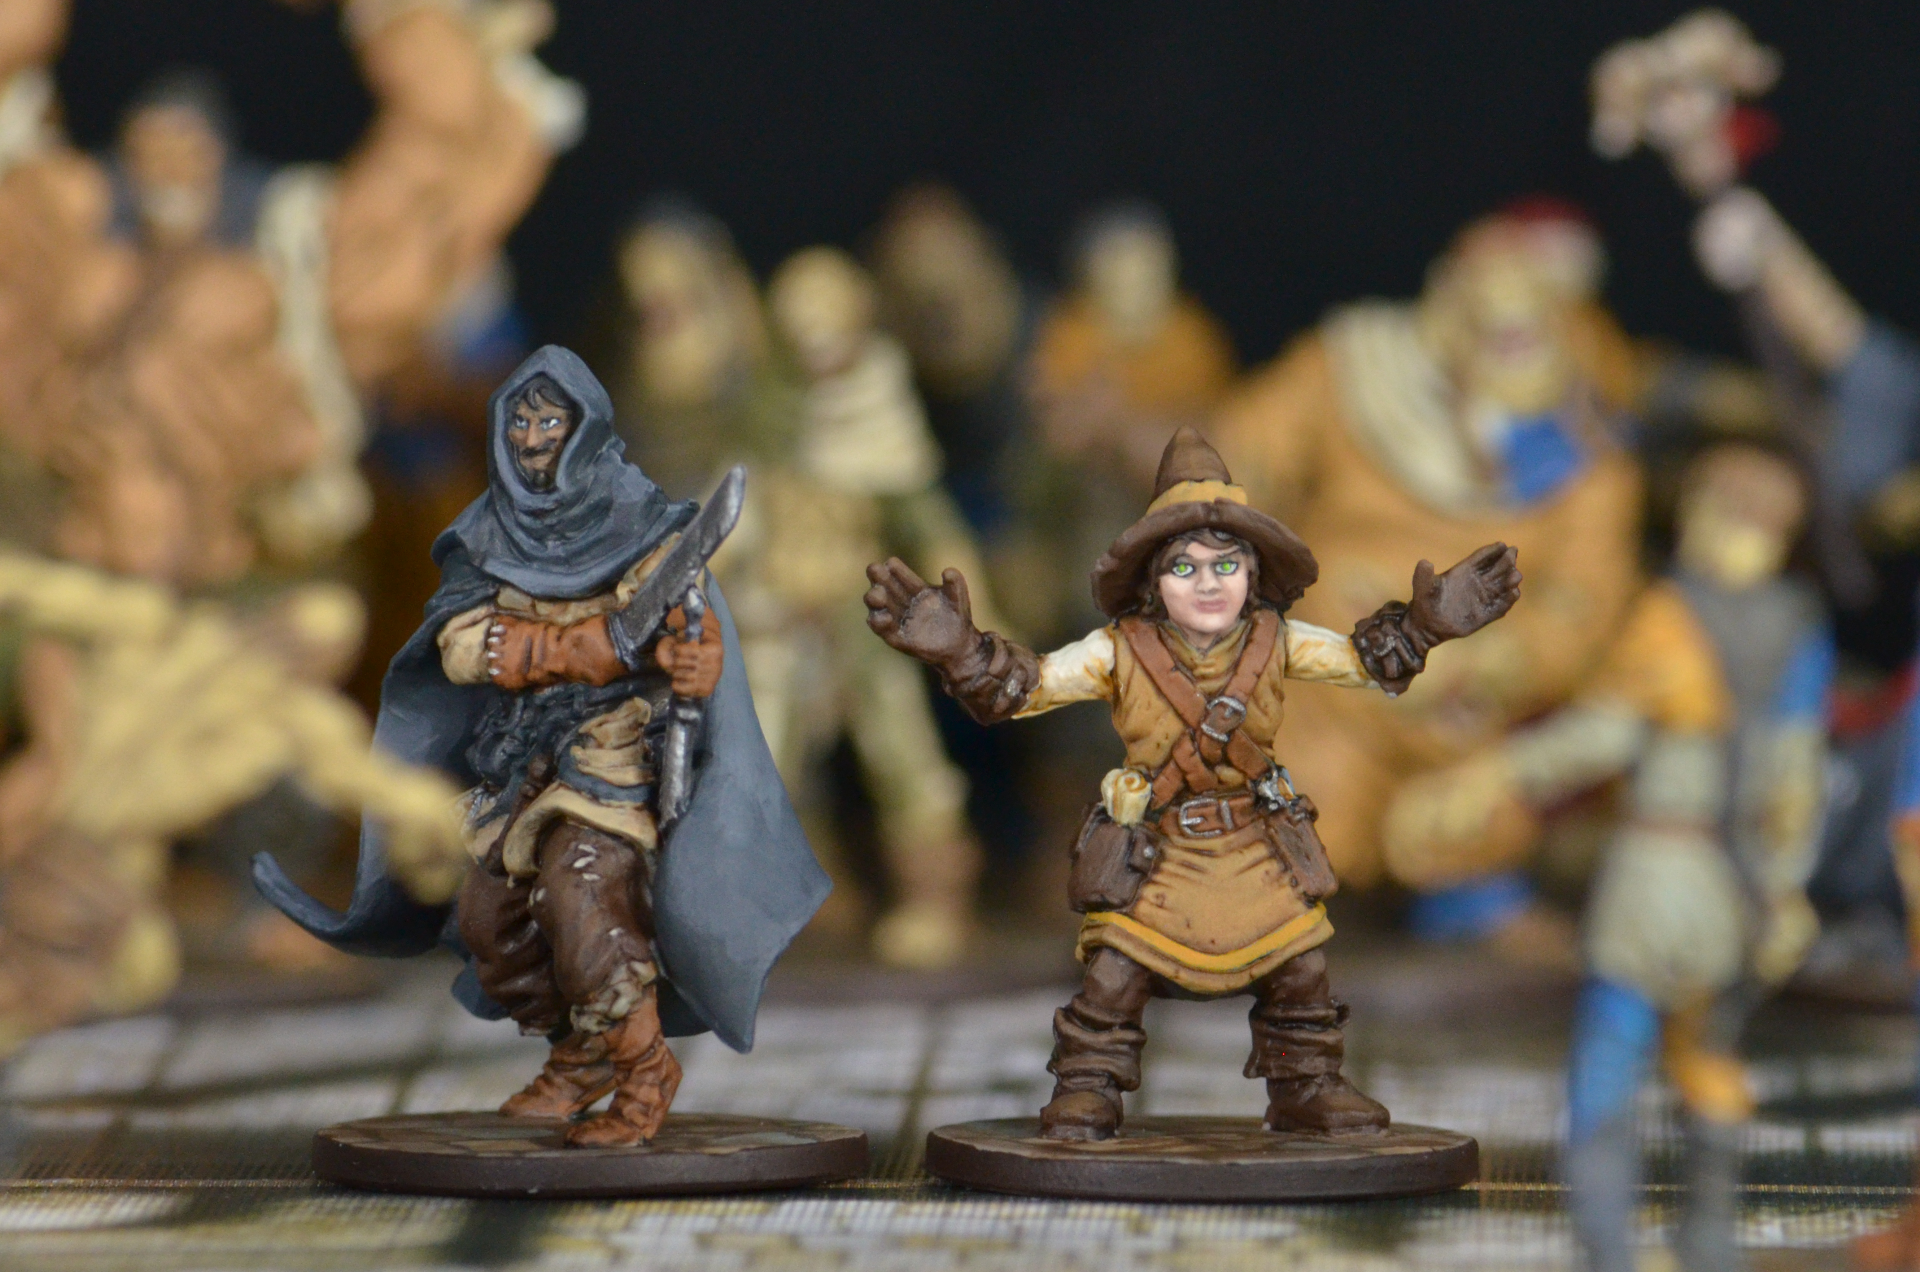
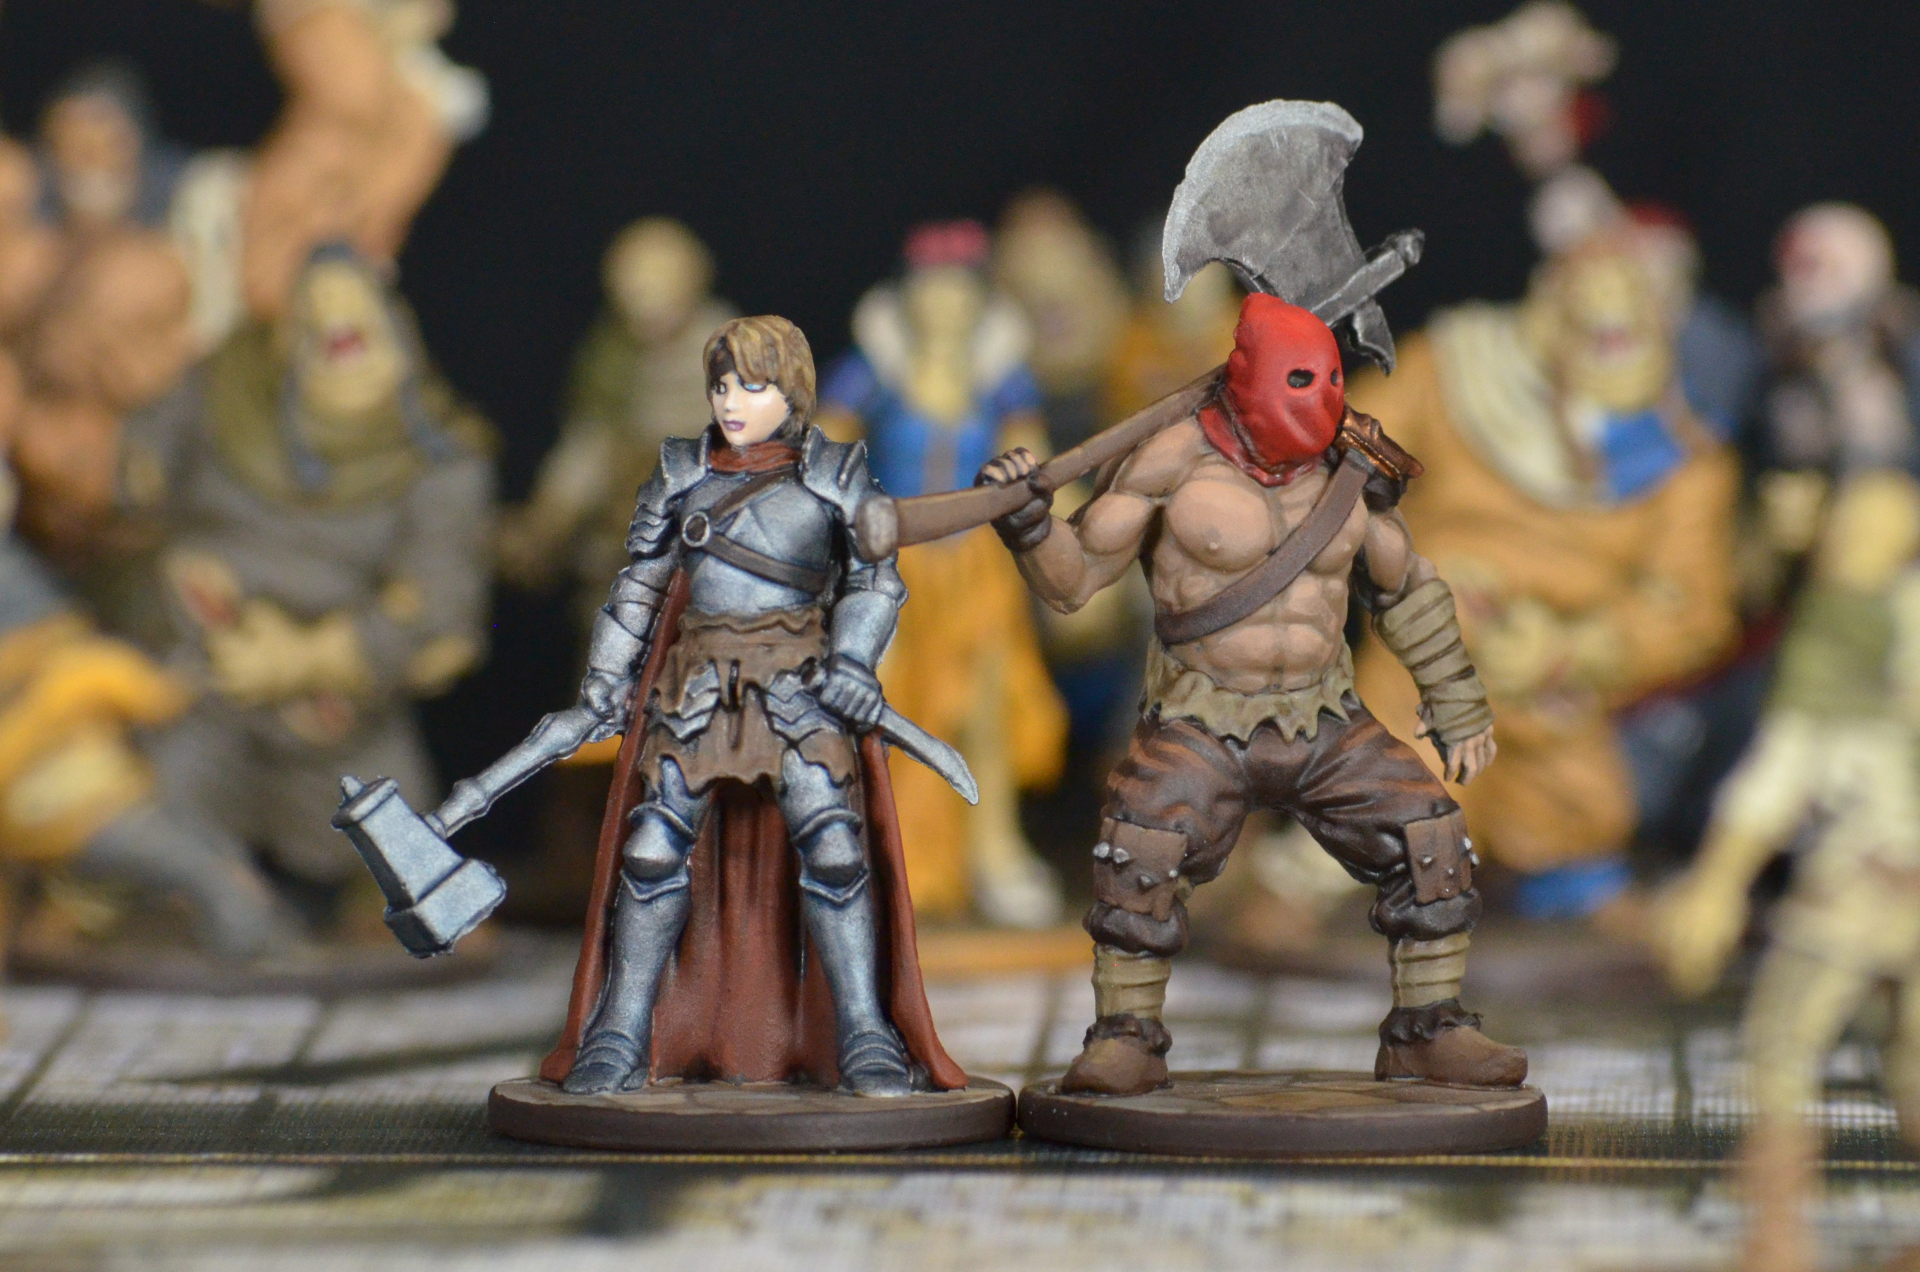
A lineup of all survivors I have painted so far for Zombicide: Black Plague.

Confession: the box isn't entirely painted... I still need to paint Clovis and 2 walkers, but I have painted another 6 survivors and a bunch of extra zombies to make up for it.

Okay, it's done enough!

 After starting on June 17th, the following tiny people and (mostly) tiny monsters have been painted:

  • 77 Zombies
  • 2 Abominations
  • 1 Wolfbomination
  • 1 Abominatroll
  • 1 Necromancer
  • 1 Grin Necromancer
  • 1 Tank survivor
  • 2 Archer survivors
  • 2 Mage survivors
  • 1 Searching survivor
  • 5 Melee survivors

That is a total of 94 miniatures in 49 days. Quite an incredible number for a slow painter. 

So! Let's do some lessons learned!

Mould lines are a complete pain. And they should be destroyed with the utmost certainty. What I came to realize over the course of this project is that you should not be afraid to ruin a miniature when shaving the mould lines off. Because if you don't shave them off, then you will ruin your miniature. This brings me to my next point... 

Zombicide miniatures are not the best quality. There's a very good reason the game only costs $100 when it has 71 miniatures. In fact, you can frequently find it for under $1 per figure. The insane number of miniatures in the kickstarter brought that we'll below $0.50 per mini. Mould lines, mushy details, and even 1mm gaps were unfortunately prevalent. 

Do not rapidly base coat 70 miniatures with your favorite brush. It will be ruined. You will be sad.

A schedule helps push through bigger batches. Seriously, knowing that I had until August 6th to get everything painted helped. In my painting journal, I broke down the desired results into smaller batches. I then constantly evaluated (a 30 second evaluation daily) if I was going to be able to meet the goal. It helped me stay motivated quite a few times when I didn't want to paint another &#%@ing zombie.

It was a true struggle to get to the end on the zombies, but I'm glad I did.

Contrast is king. I tried to amp up the contrast on a number of the survivors and produced some of my best work on a very short time table. This partially meant going old-school and embracing washes again.  I would generally base coat, apply a heavy wash, then re-base and highlight up at least 3 shades.  This produced 5 real shades.  I did also try shading with layers on some of the more flowy cloaks.

Probably the best way to wrap up is a gallery of more detailed shots of survivors.  It was a cool project, and was fun to play with my sister-in-law and her husband.  Perhaps the best thing I can say about Zombicide is that I will be backing the next release the day it is available.

Airbrush School

Experts are great.

Even better than experts are experts who share their knowledge.

Gamer's Haven has one of those experts. The humble master of painting, Mike.

On Saturday, he offered a hands-on airbrushing course, and I was lucky enough to go. The only requirement was that you were to bring your own larger model to paint. Generally, this means a Warhammer 40,000 vehicle. 

The only large miniatures I have are some Infinity remotes, and the crazy Abominations of the Zombicide Kickstarter.

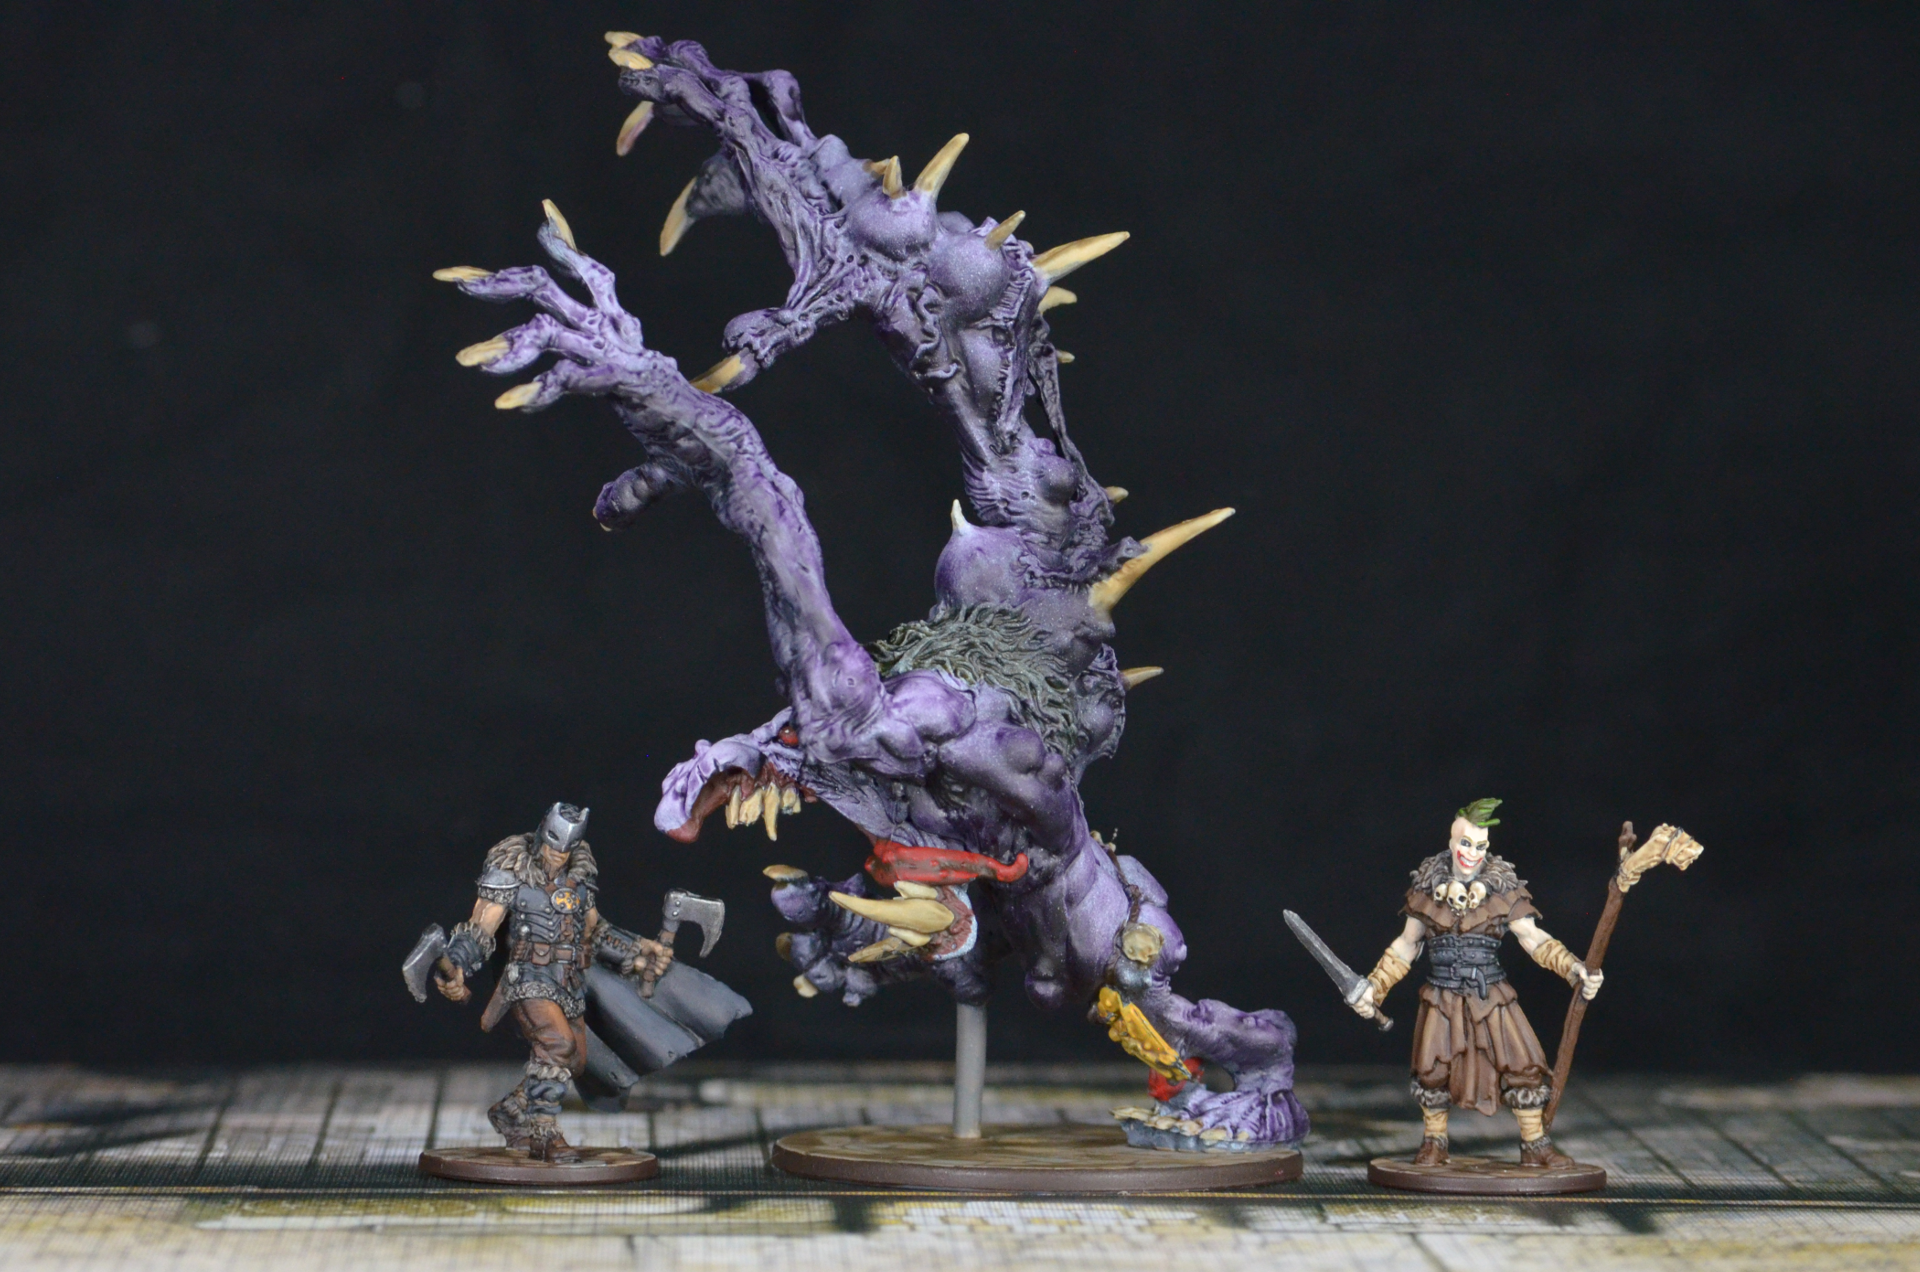
Friday night I hastily primed the Abominatroll and Wolfbomination. The Abominatroll is a crazy, humongous monster, complete with armpit hair. The Wolfbomination is a bit more tame, looking more like a large wolf. 


The Abominatroll from the Zombicide Black Plague Zombie Bosses Abomination Pack. Complete with longest title ever.

The Abominatroll from the Zombicide Black Plague Zombie Bosses Abomination Pack. Complete with longest title ever.

After teaching us the basics of airbrushing, Mike turned us loose with the 2 airbrushes that he brought. I started with the Abominatroll, and per Mike's recommendation, started highlighting him with straight white.

I found this to be difficult to control. It didn't produce the smooth transition I had hoped for, but it did produce a transition. Honestly, the model didn't look great. The white spattered in spots, making the giant Troll look like he had run through a grey polkadot factory. The highlighted areas didn't make much sense. Plenty of folks cane over to give the "eew, you paint d it like that?!" look while smiling awkwardly. By all accounts, it was a failure.

The Abominatroll after final touches were applied.

Onward to the next mini to mess up, the Wolfbomination! Starting with a dark brown, I base coated most of the Wolfbomination, creating some shading. I then switched out to a medium brown and highlighted the face and other raised areas. Unfortunately, the paint I used had a glossy finish to it, but I think those efforts will look great once hit with the matte varnish. The entire process took less than 10 minutes.

The Abominatroll with Grin and Scowl from the Zombicide: Black Plague kickstarter.

Leaving the Haven defeated, I faced the reality that it was not possible to ruin the Abominatroll further. Once I got home, I started slapping a purple wash all over him. And he started, miraculously, to look more interesting. The wash helped make the shading look more interesting, and picked out the details.  

The Wolfbomination from Zombicide: Black Plague - Wulfsburg. I plan on doing the next one in a grey-wolf theme instead of the brown.

Perhaps the most important thing to note is that the airbrush layer was so thin that it didn't obscure detail at all. This made washing over the top of it a breeze! There were a few spots that needed some light drybrushing in order to pick out details, such as the underside of the arms. 

The Wolfbomination required less work. I did a light drybrush on his mane to make the details of the hair pop. Otherwise, all highlighting is from the airbrush, and the shading from an application of Quick Shade.

A size comparison between the Wolfbomination and Silas from the Zombicide: Black Plague core box.

So there they are, the poor two minis that were the first to be airbrushed. They shall forever wear their pathetic coloration as a warning for all who yearn to learn about airbrushing.

A Year of Painting

I almost didn't do this post.

To do it right potentially requires pulling out the camera and taking quality photos of newly painted figures. Honestly, I don't want to stop painting long enough to do that.

The story goes something like this. While we were in Scotland for my brother's wedding I found Sorastro's Painting Guides for Imperial Assault. I had been fooled into buying the Imperial Assault deal on Massdrop, and it had arrived shortly before we left. There was not much literature about IA, and searching for it instead produced a link to Sorastro's guides. 

It only took one watch to know that I wanted to try my hand at painting.

The first Stormtroopers were full of mistakes. You can read about those mistakes here.  

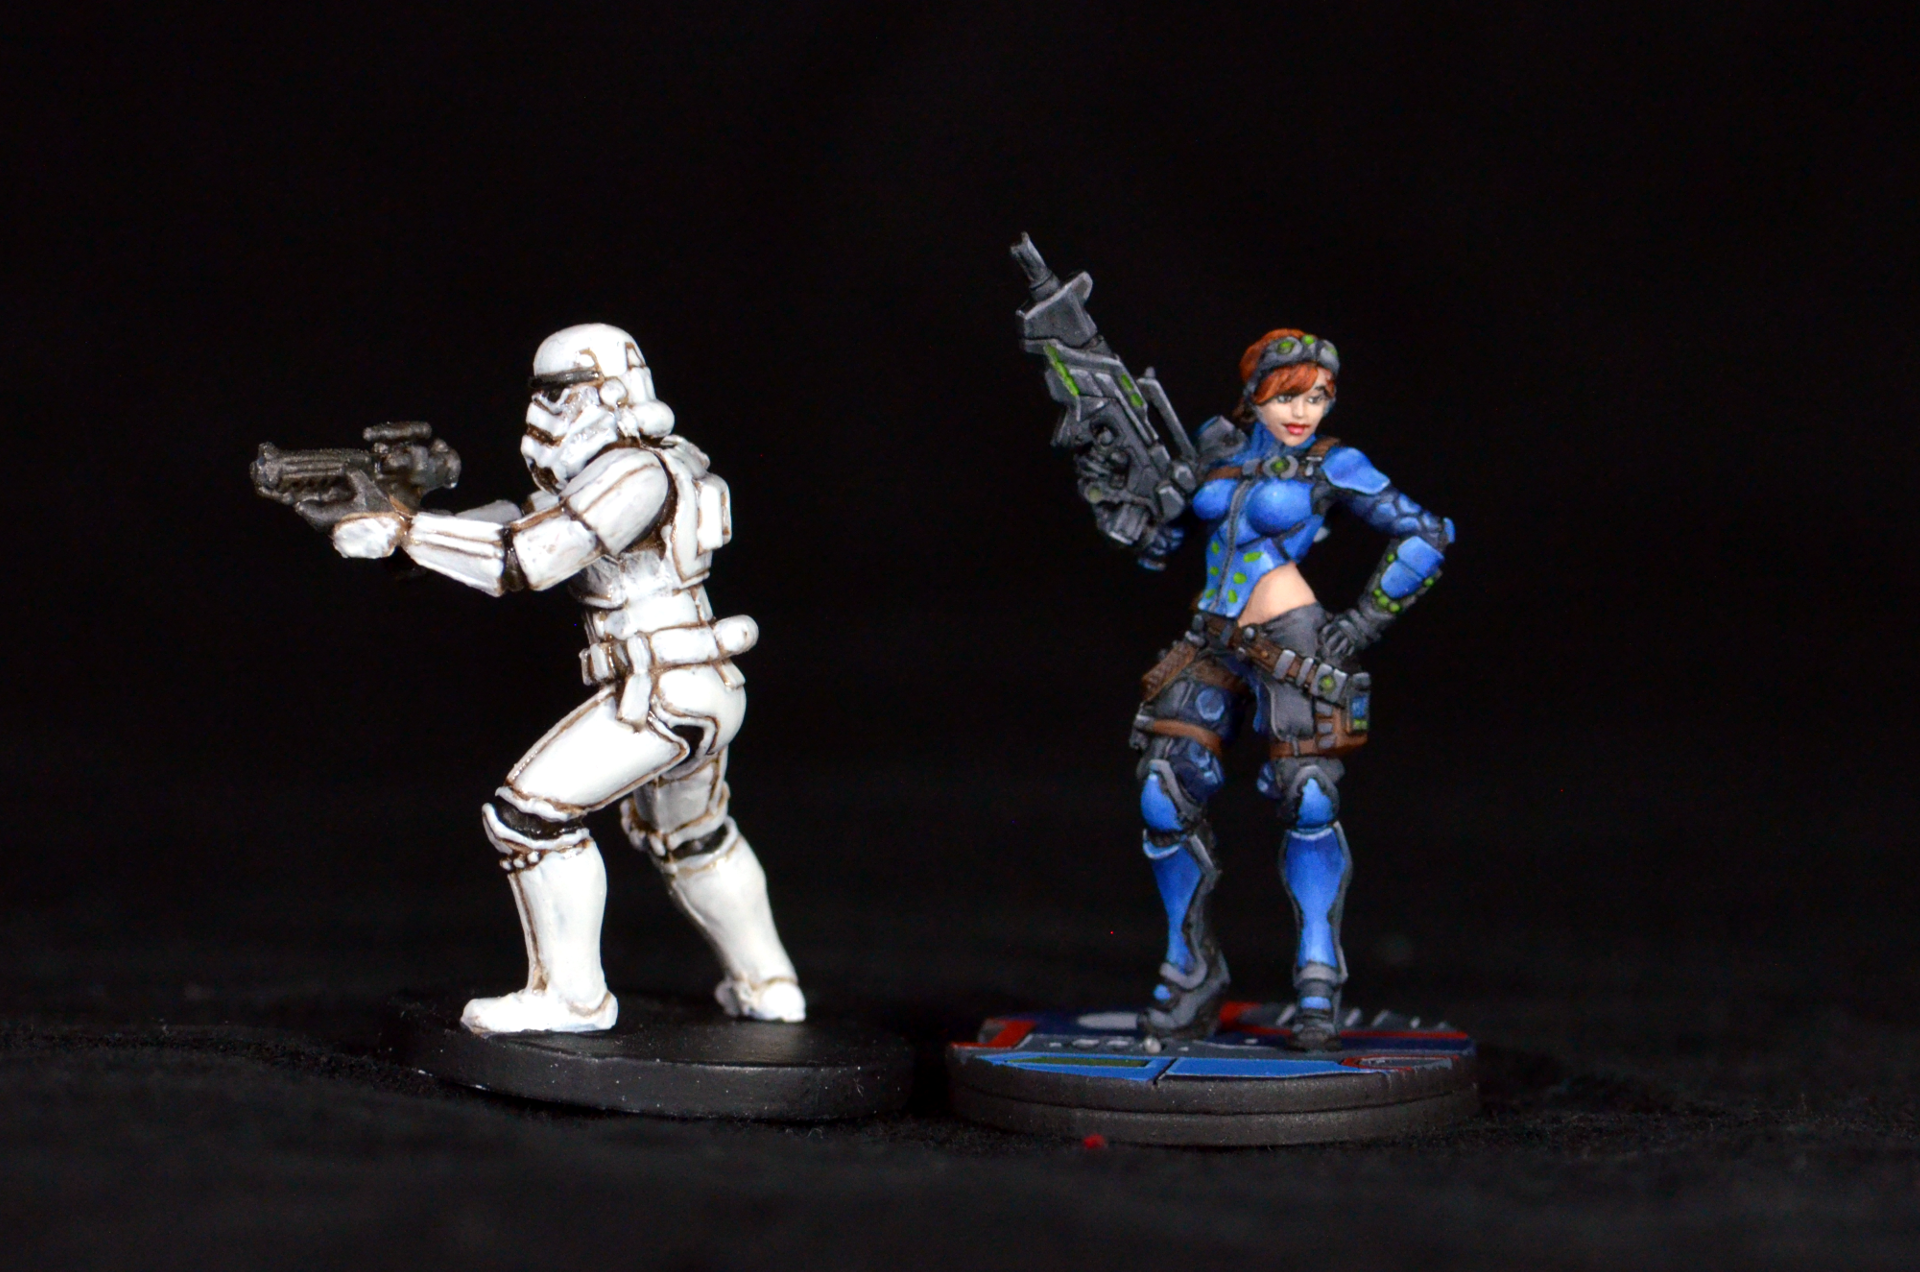
The first Imperial Assault Stormtroopers.  You can see the brown wash used instead of black on them.  Having the correct paint helps.

The droids that followed weren't much better, but they were easy to do. 

These minor improvements continued. Each miniature introduced a new technique to understand and master.

Then Vader was the next figure I wanted to do.  That said, I had zero confidence in my own ability to properly highlight a miniature.  An alternative was needed.  Queue Zombicide!

Zombicide comes with so many miniatures that it was the perfect tool to help get better. Painting half of the zombies and the survivors helped me understand contrast and color theory better. 

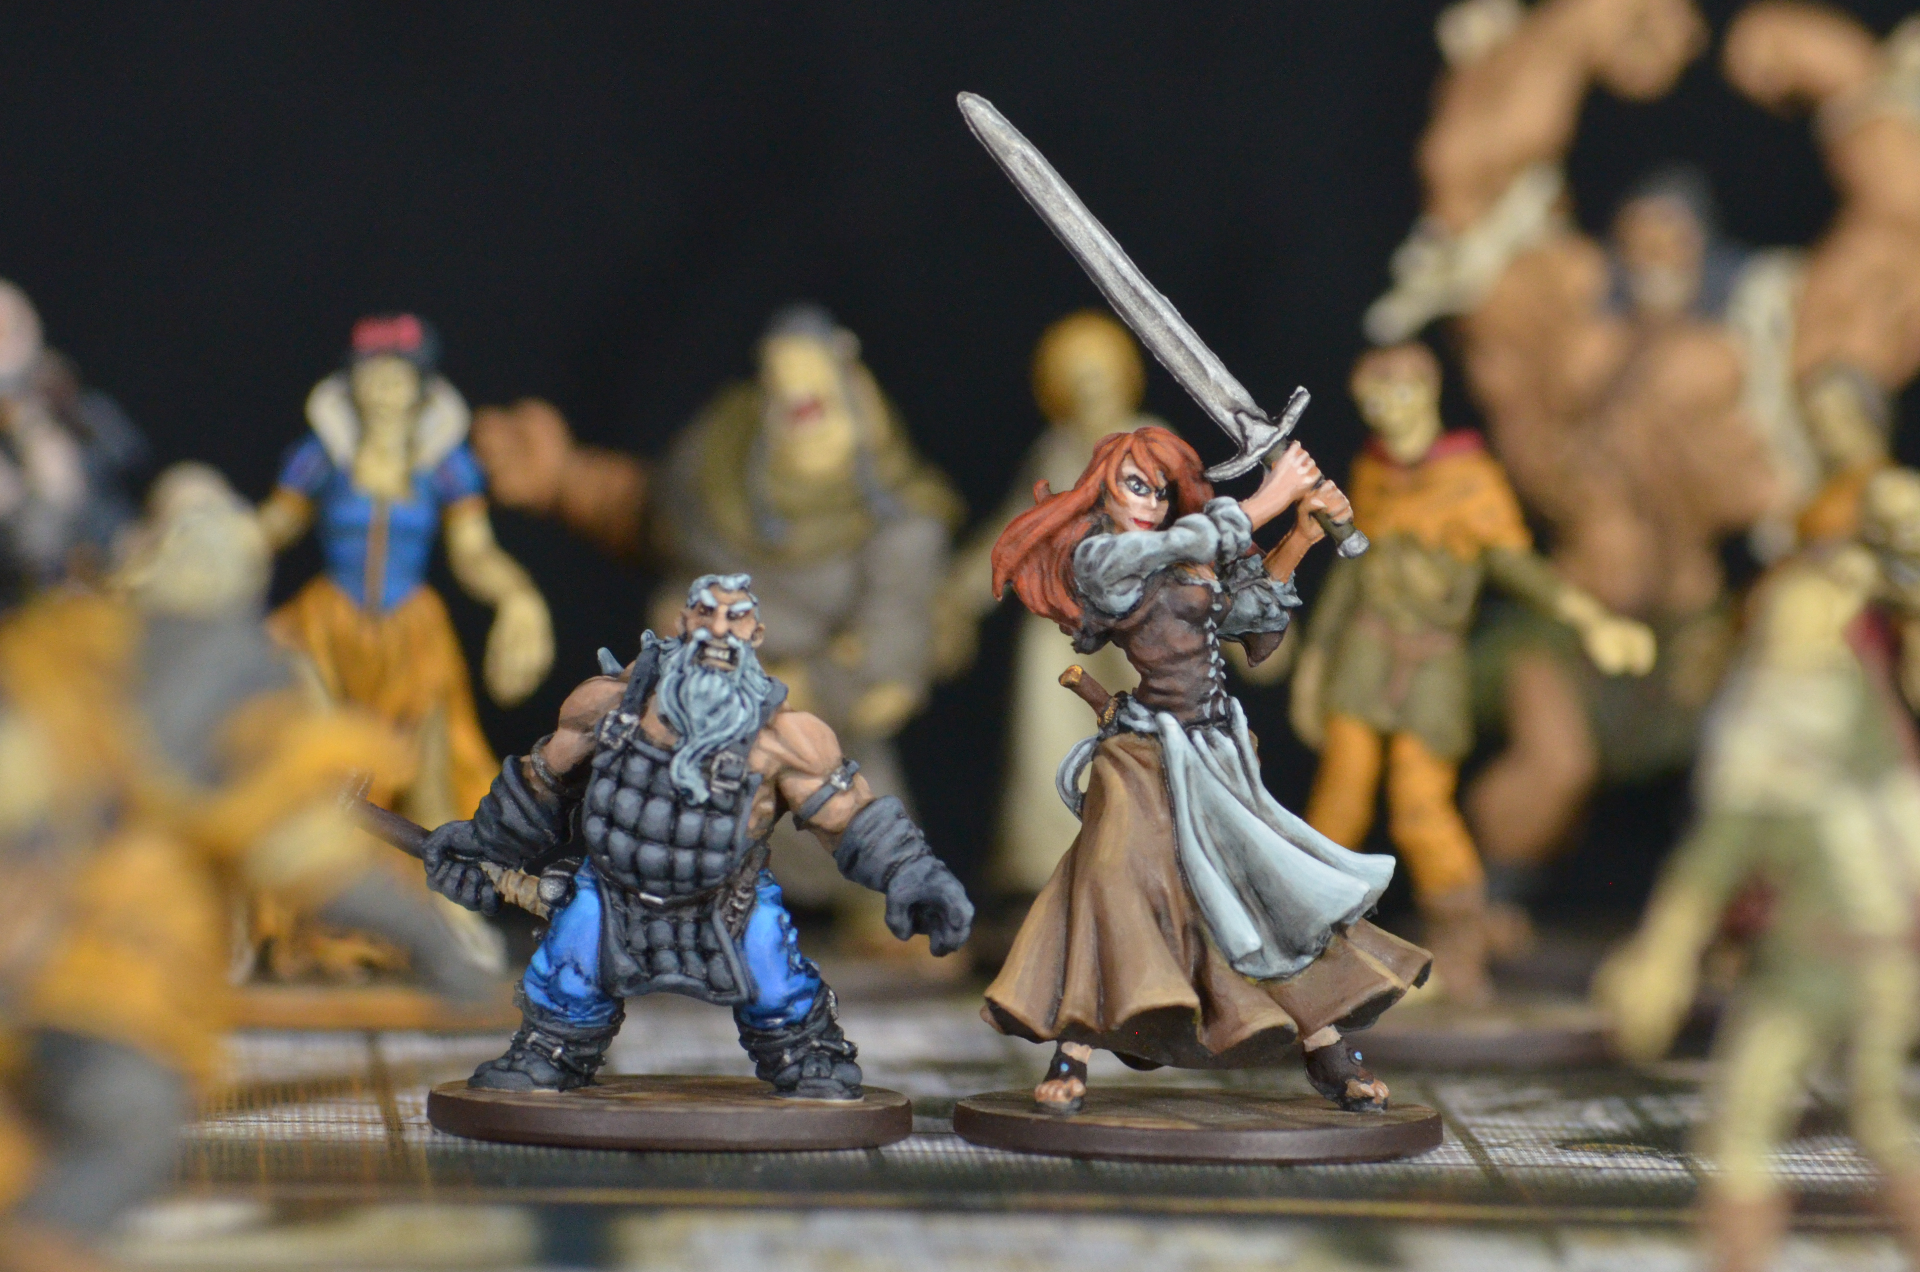
The Zombicide survivors are under attack...

Then, "real" miniature games started calling. Infinity was the next game painted, and that phase lasted for a good 8 months and will continue once I have wrapped up Zombicide Black Plague (and possibly RelicBlade as well). There are still hundreds of unpainted Infinity minis. That said, many of my favorite paint jobs have been on the Infinity miniatures.  

All of the Infinity miniatures completed in 2015.

Painting the Corvus Belli sculpts is quite different from painting the Imperial Assault or Zombicide minis. Infinity generally has detail to the extreme, including what could best be described as greebling. The poses aren't as dynamic as I would like, but they generally gave character and style. 

After dabbling in three different factions, the Steel Phalanx of the ALEPH was the force chosen to be focus on.

The first Infinity list, 150 points of Steel Phalanx.

The first Infinity list, 150 points of Steel Phalanx.

This was my first alternative color scheme, and it didn't really hit its stride until about 15 miniatures in. There are a few good miniatures in there and they have a similar theme, but the identity and cohesion I was hoping for never matured in a way that looked great on the table.

Infinity has officially occupied most of my painting time.  I started painting Caledonians in October and continued until June when I took a break for Zombicide: Black Plague. Over 8 months of painting miniatures for the same game.

And now for a sad statistic.  In that 8 months, I only completed 56 figures for my collection. That is nearly 255 days at a rate of a miniature every 4.5 days.

Ouch.

Zombicide: Black Plague has been fun even if the miniatures are a lower quality.  I learned how to airbrush while painting it, and it was like being back at the beginning all over again.

The airbrushed Abominatroll next to Scowl and Grin from the Zombicide Black Plague kickstarter.

The airbrushed Abominatroll next to Scowl and Grin from the Zombicide Black Plague kickstarter.

Man, I am bad at airbrushing right now.  But with practice, and I have a ton of miniatures to practice on, I think it can be an amazing tool in the arsenal.

So there it is.  My year of painting in review.  Honestly, it was all possible because of the magical Sorasto. Please check out his guides and consider sponsoring him on Patreon if you fall in love with the hobby as I have.

Finally, here is a small gallery of how my panting has improved over the year.  Thanks for reading and- to quote Sorastro- happy painting!